

How To
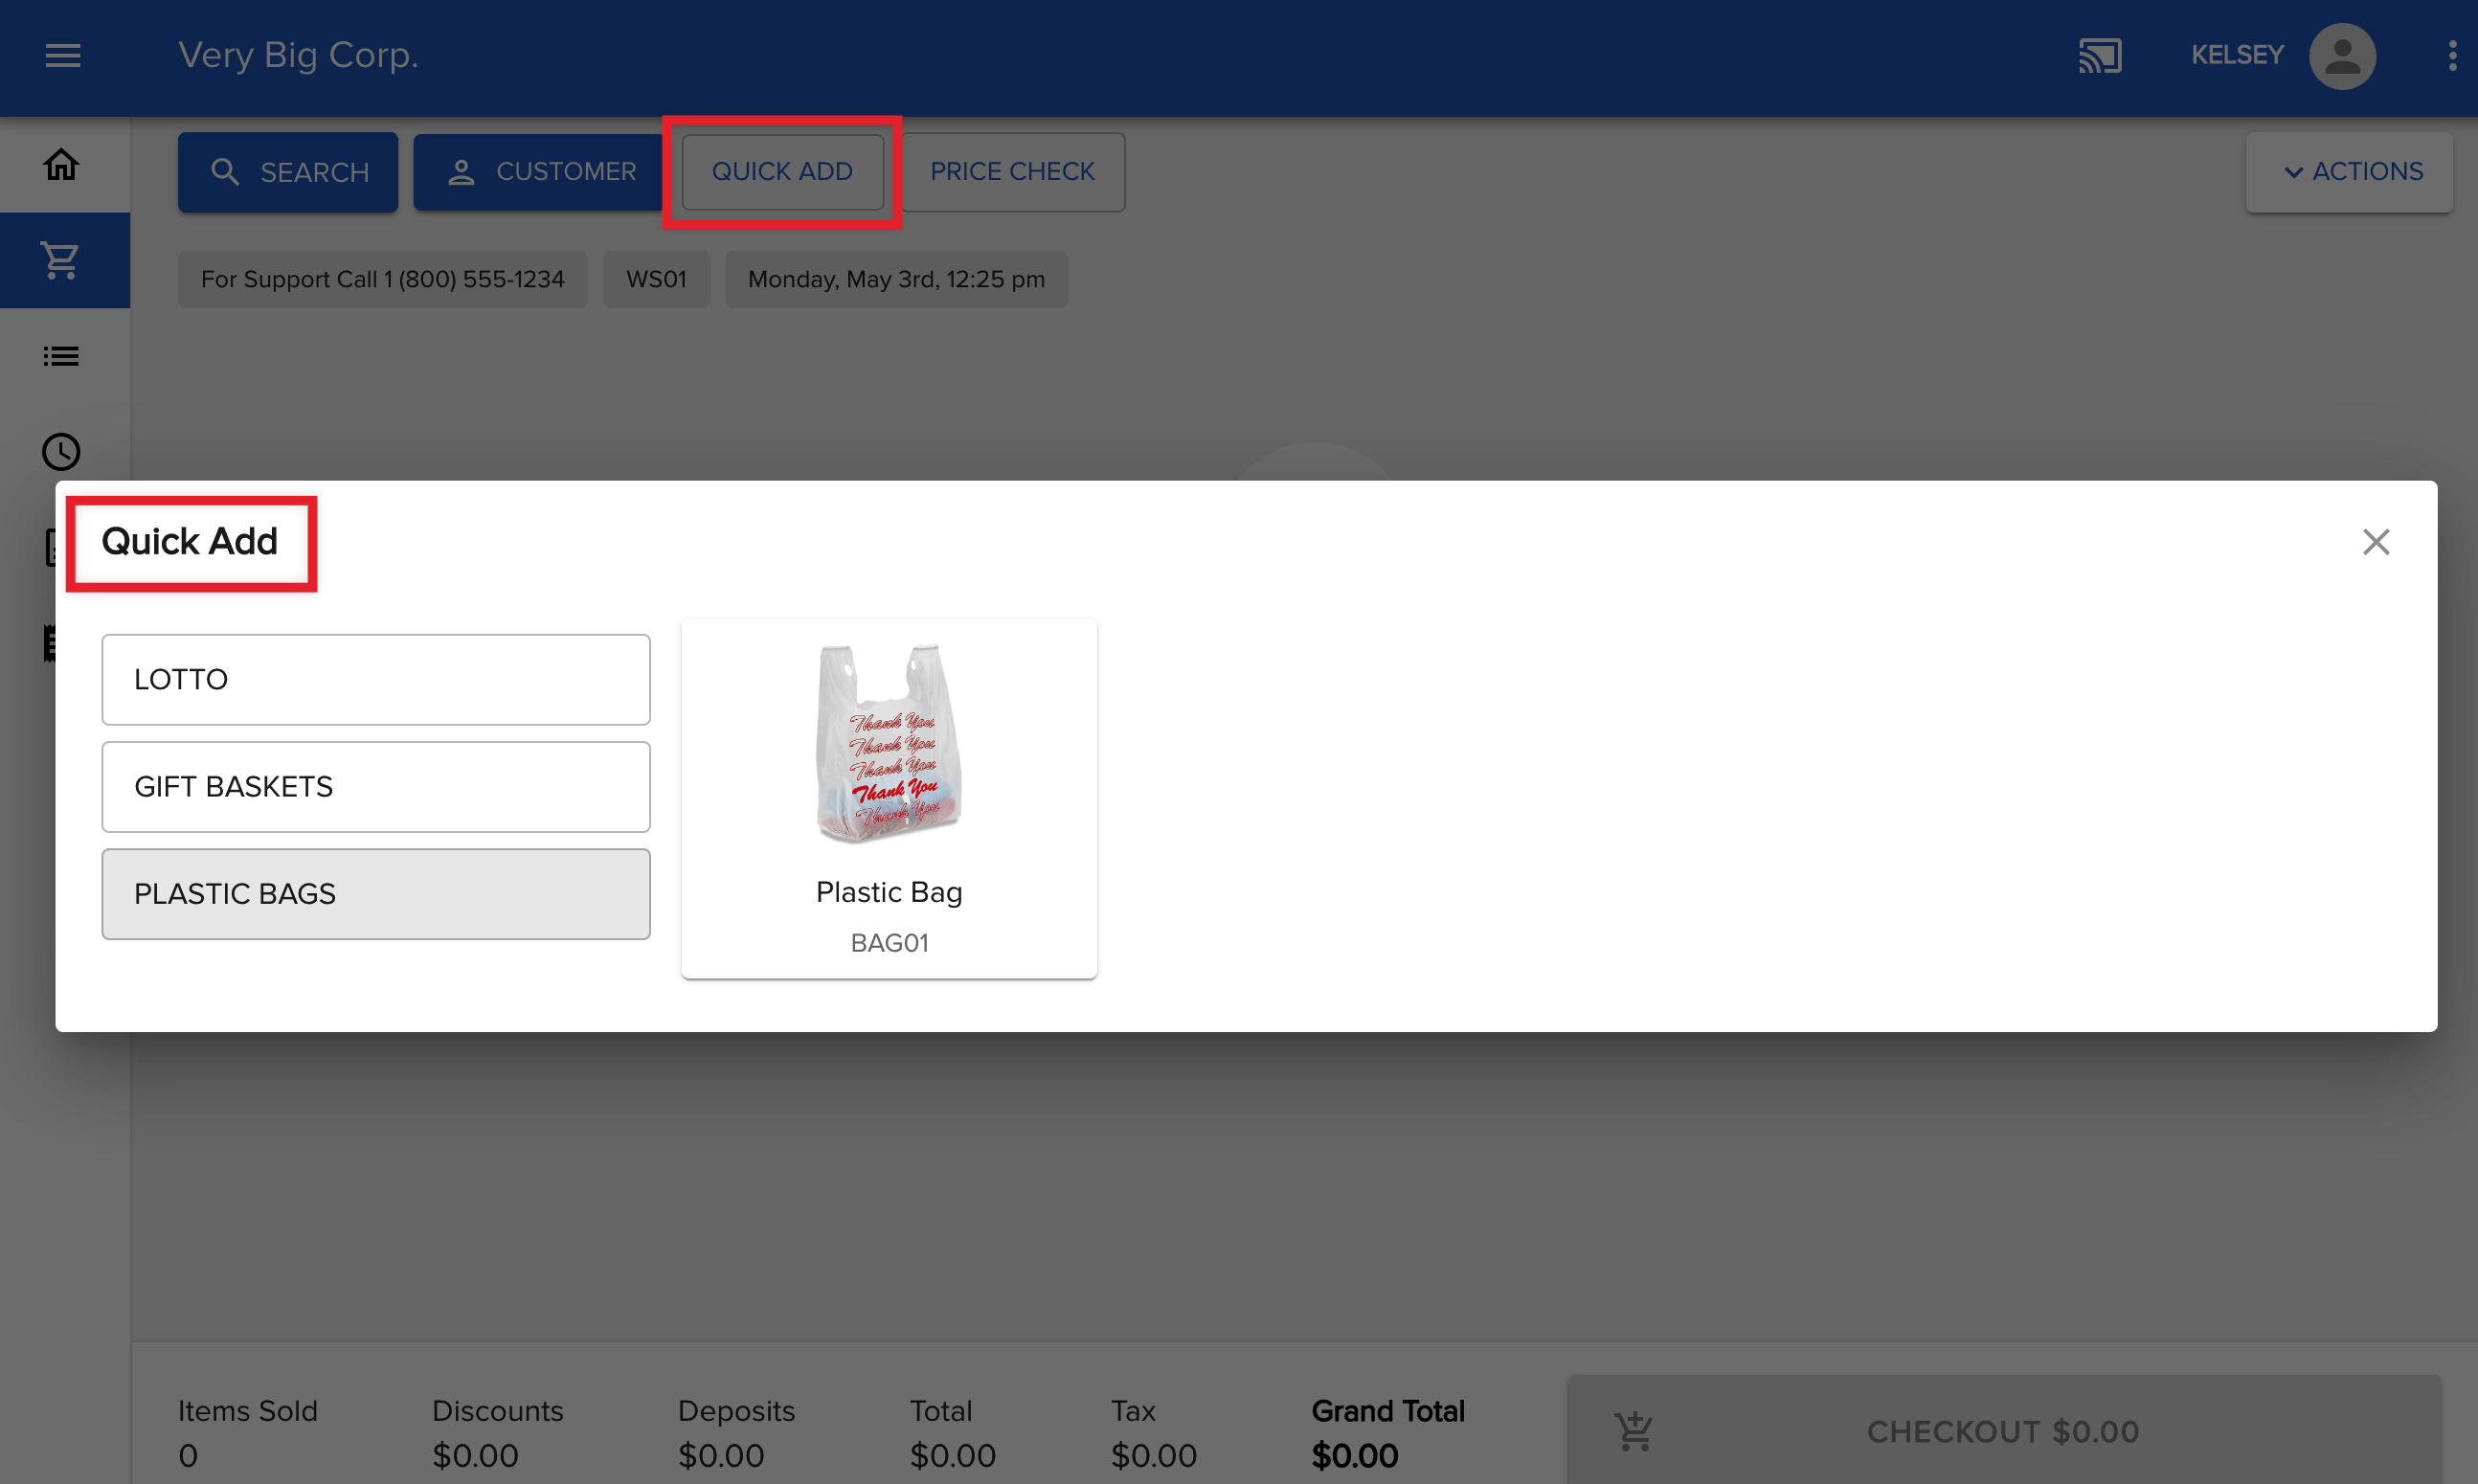
How do I add quick-add buttons, also known as Flip Charts, to the POS?
Follow these steps
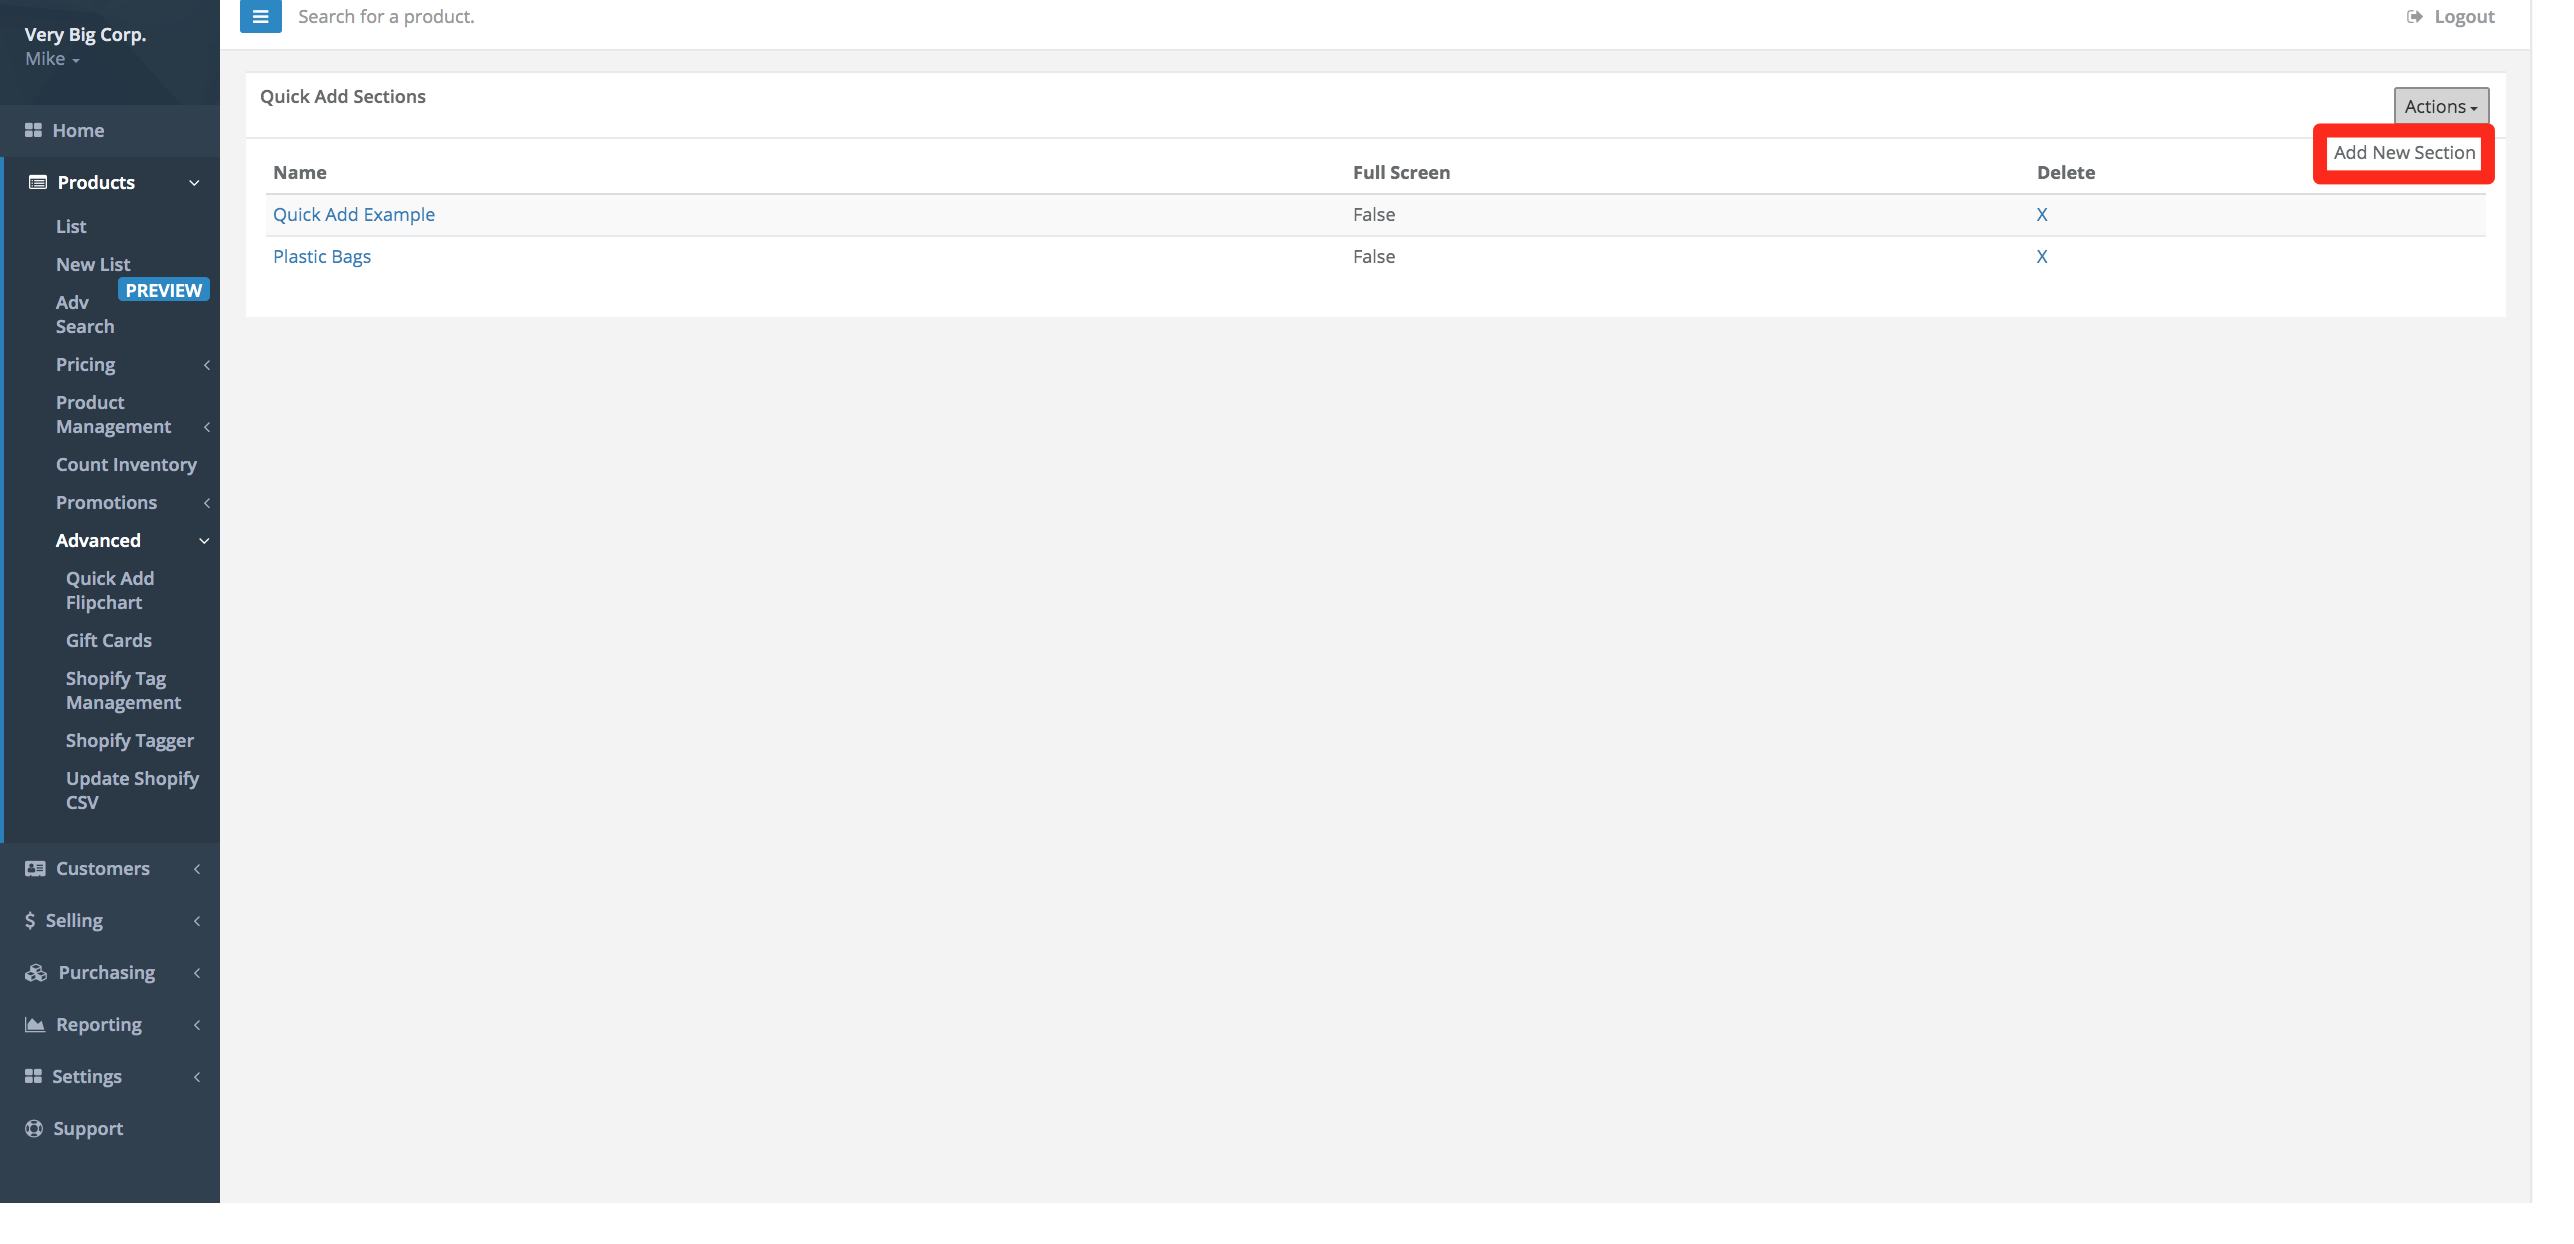
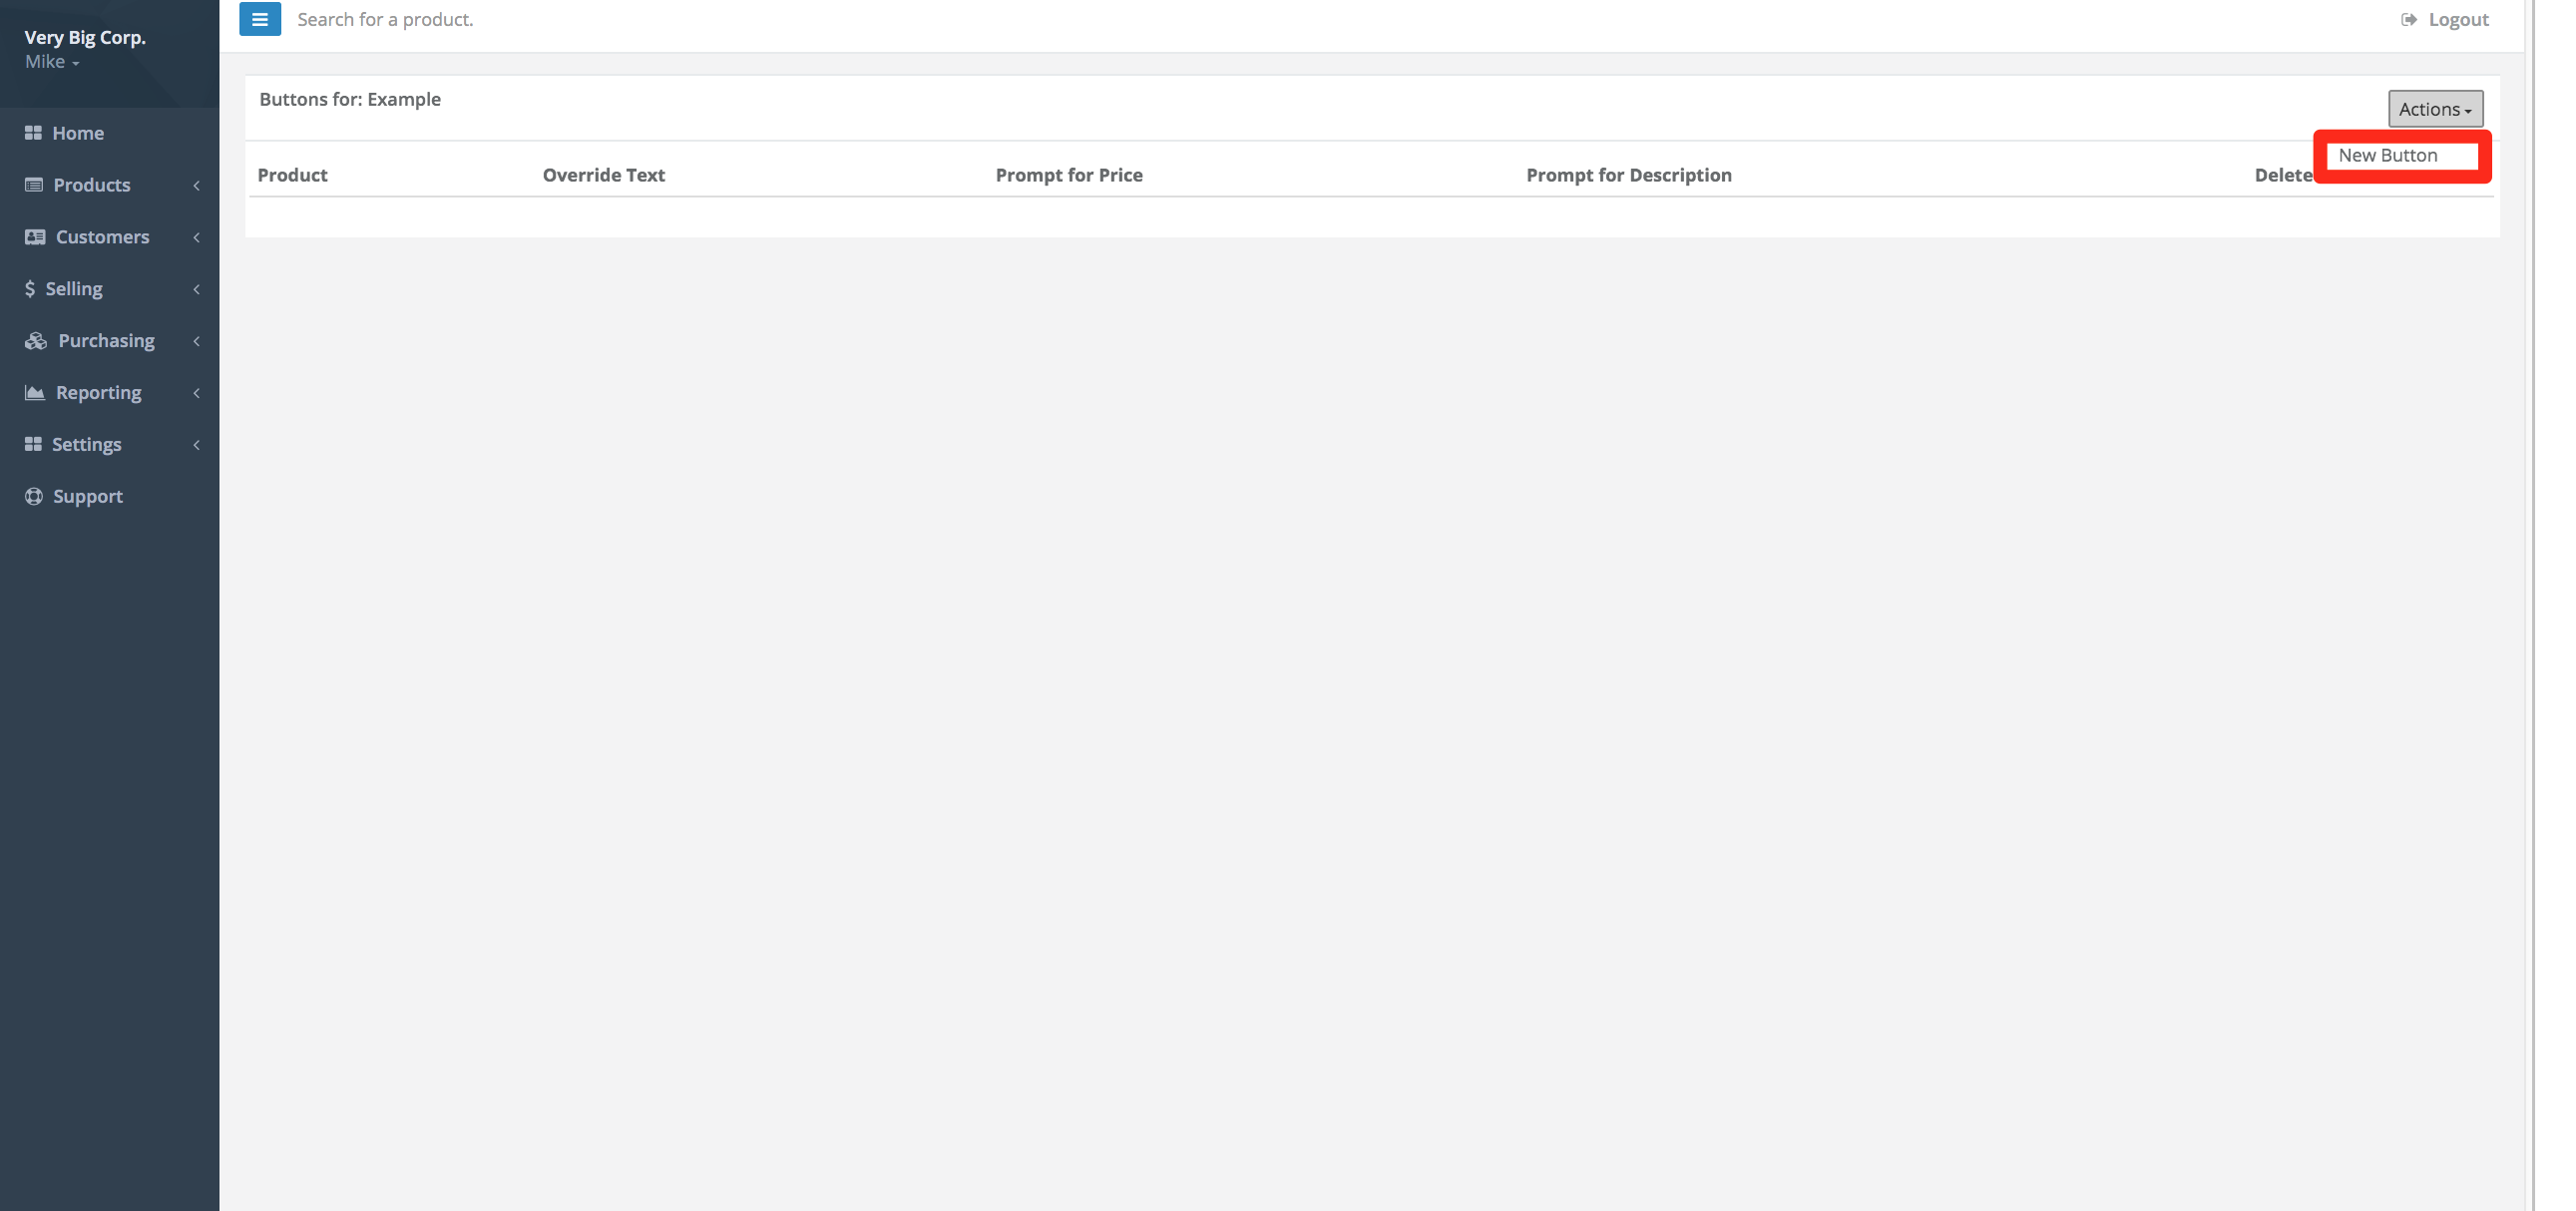
- From the GT Backend, select Products > Advanced > Quick Add Flipchart.
- Select Actions > Add New Section. This creates the section where the button will be located on the POS. If your section already exists, skip ahead to step 4.
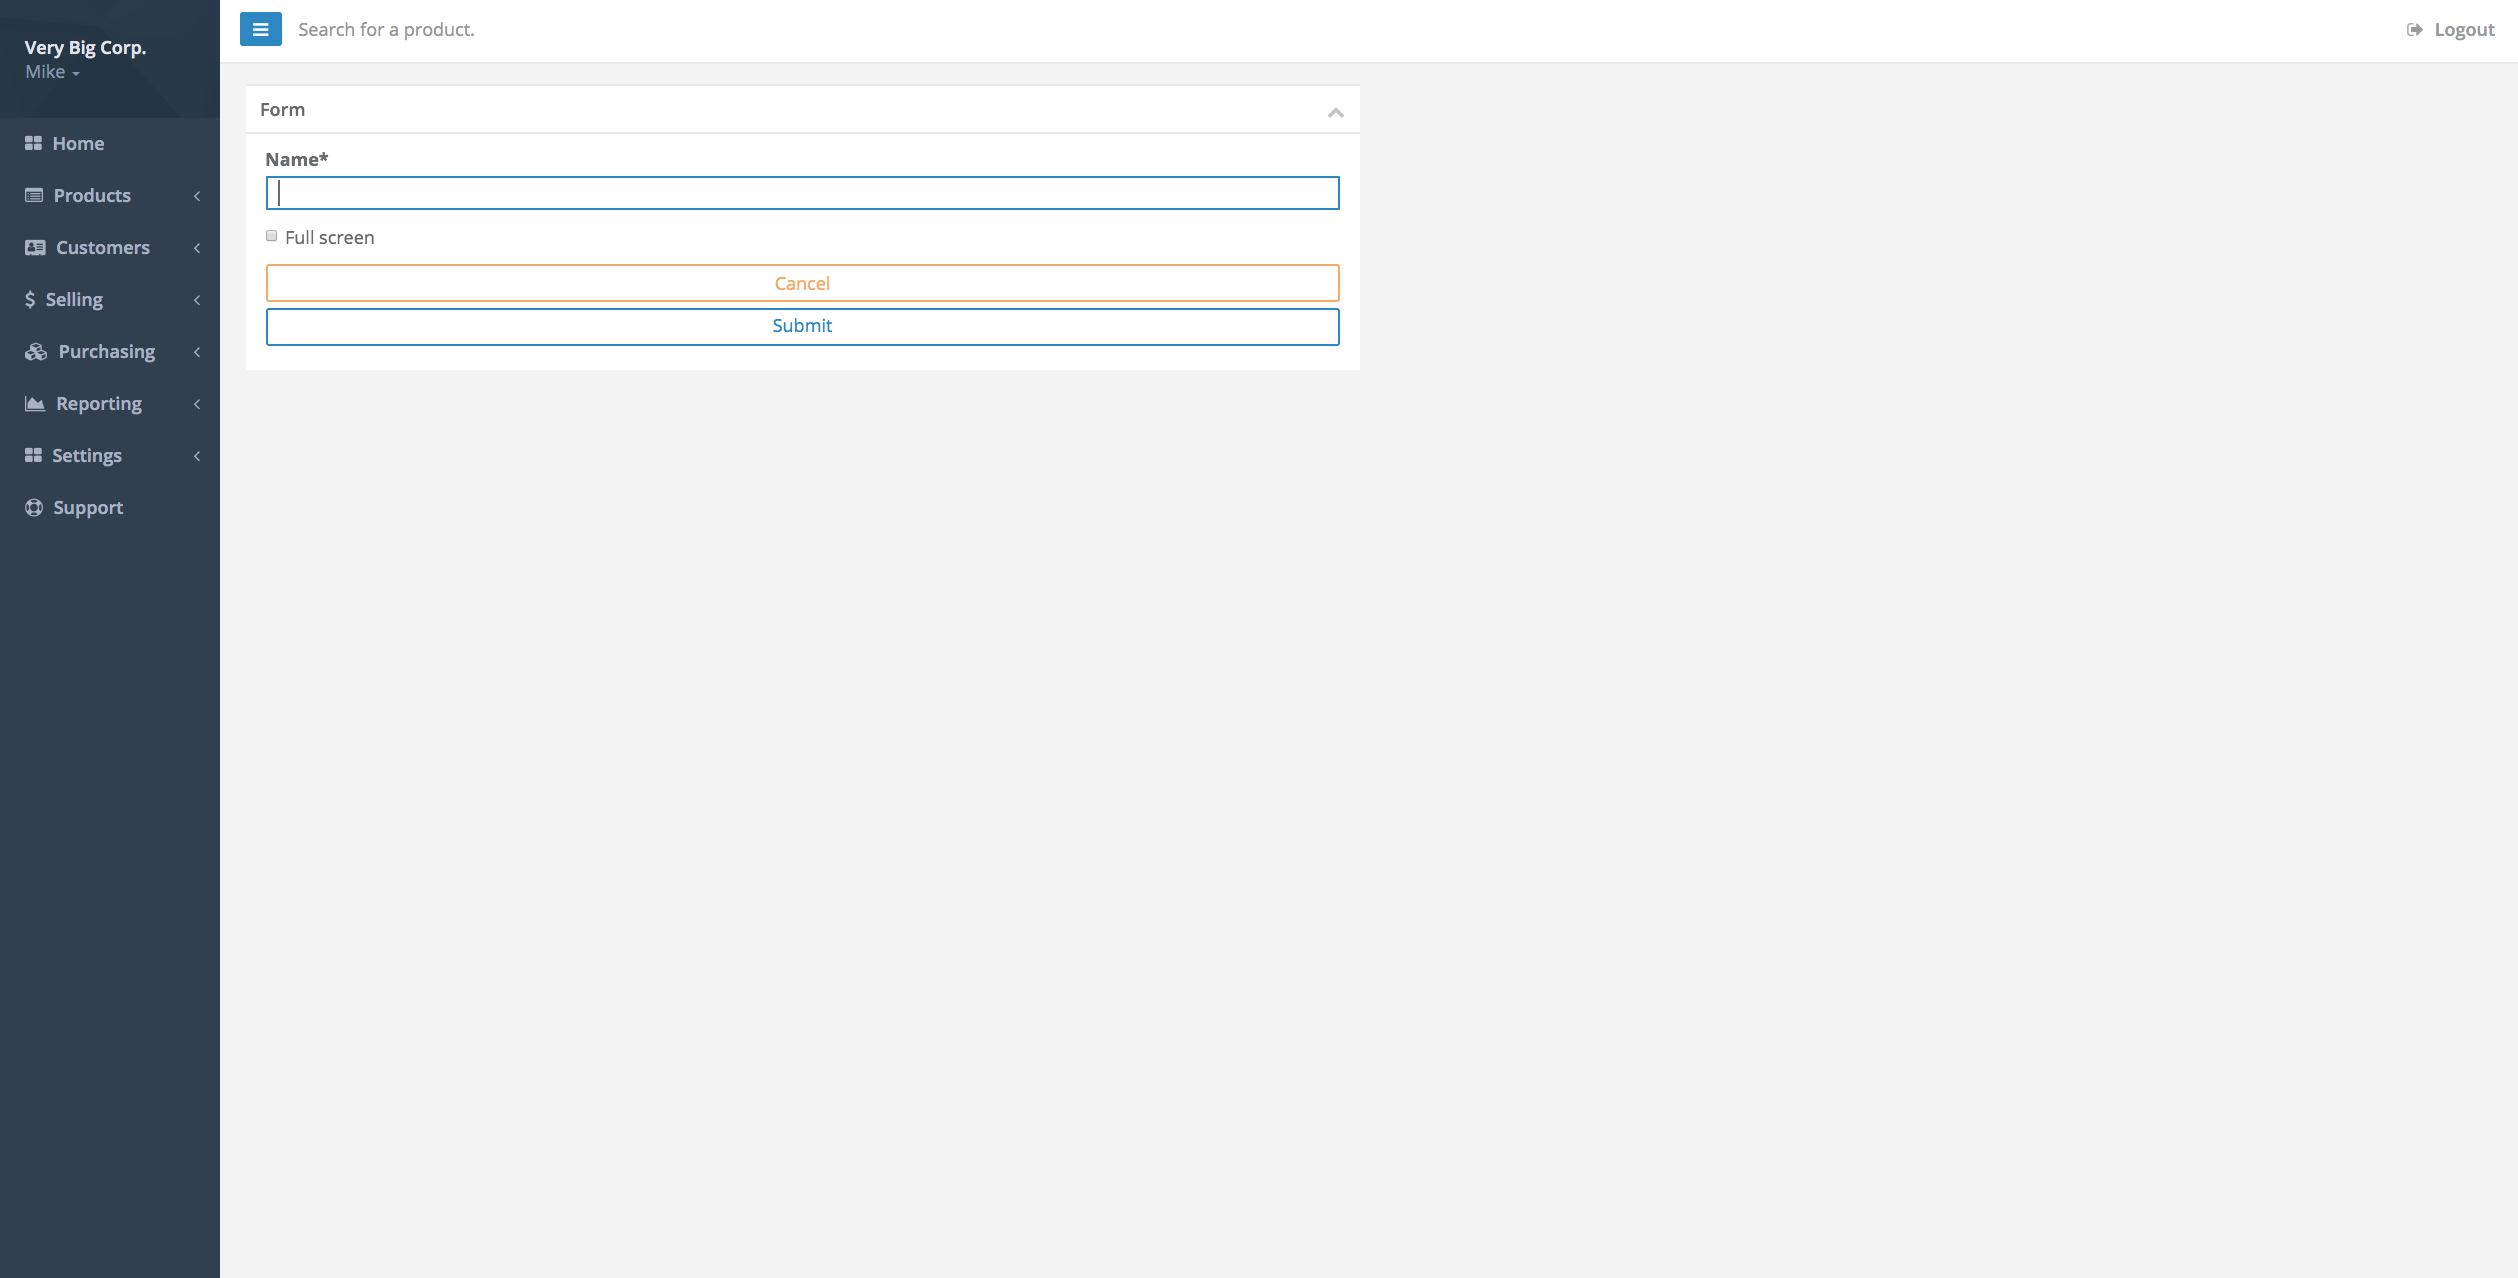
- Enter a Name for this section and select submit.
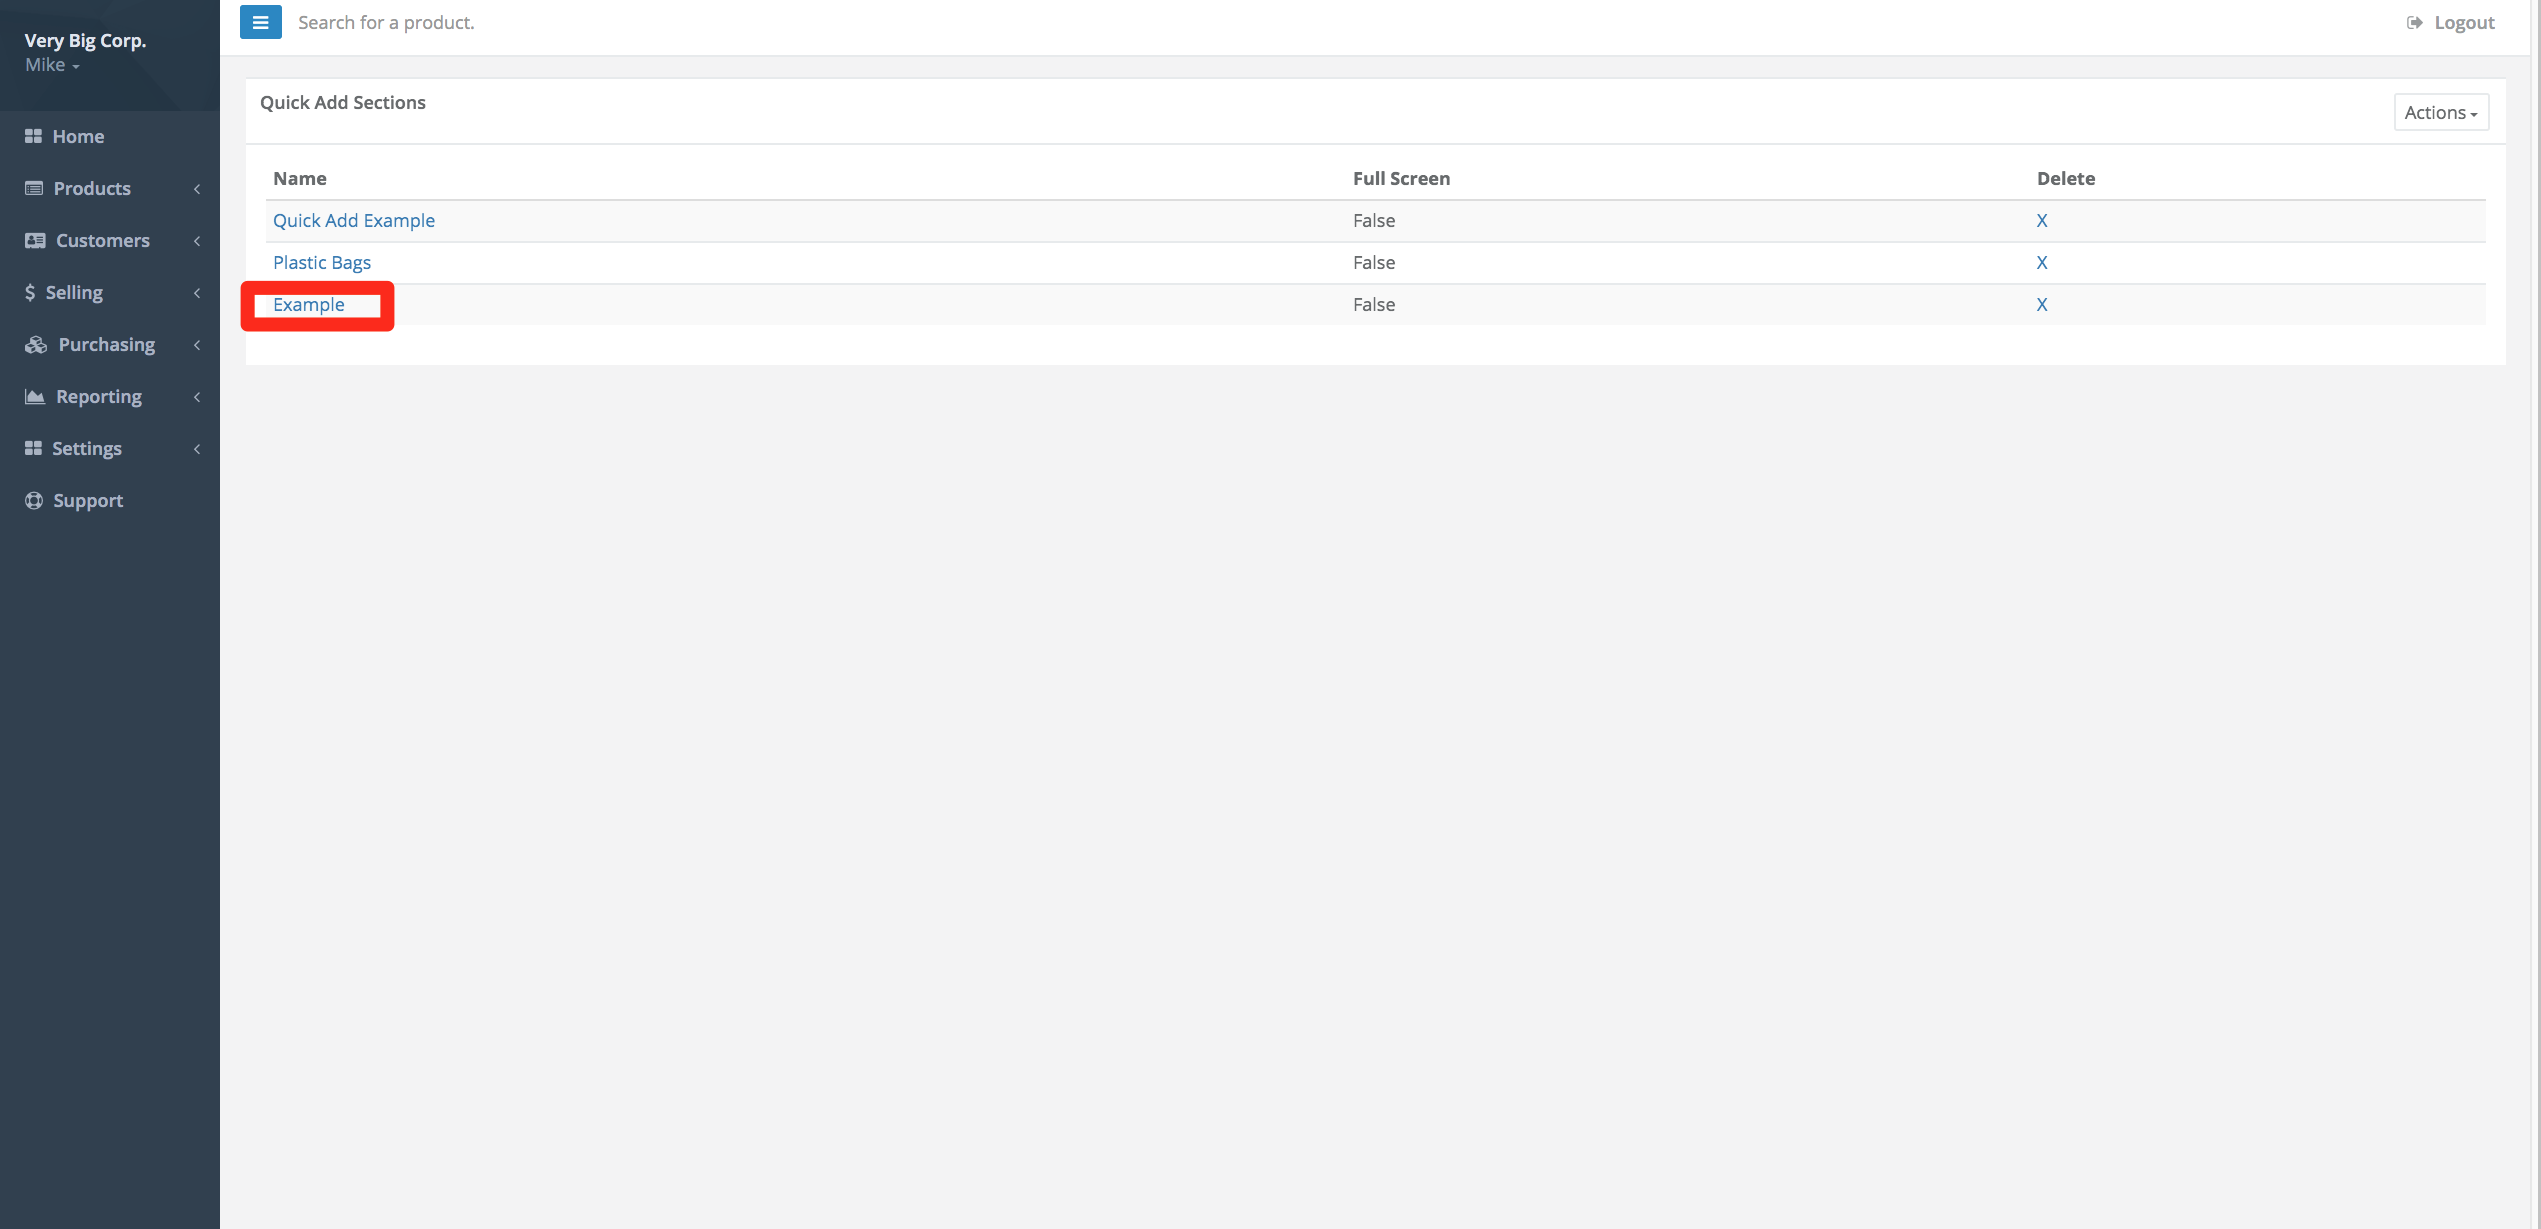
- Select the Section where you would like the button located.
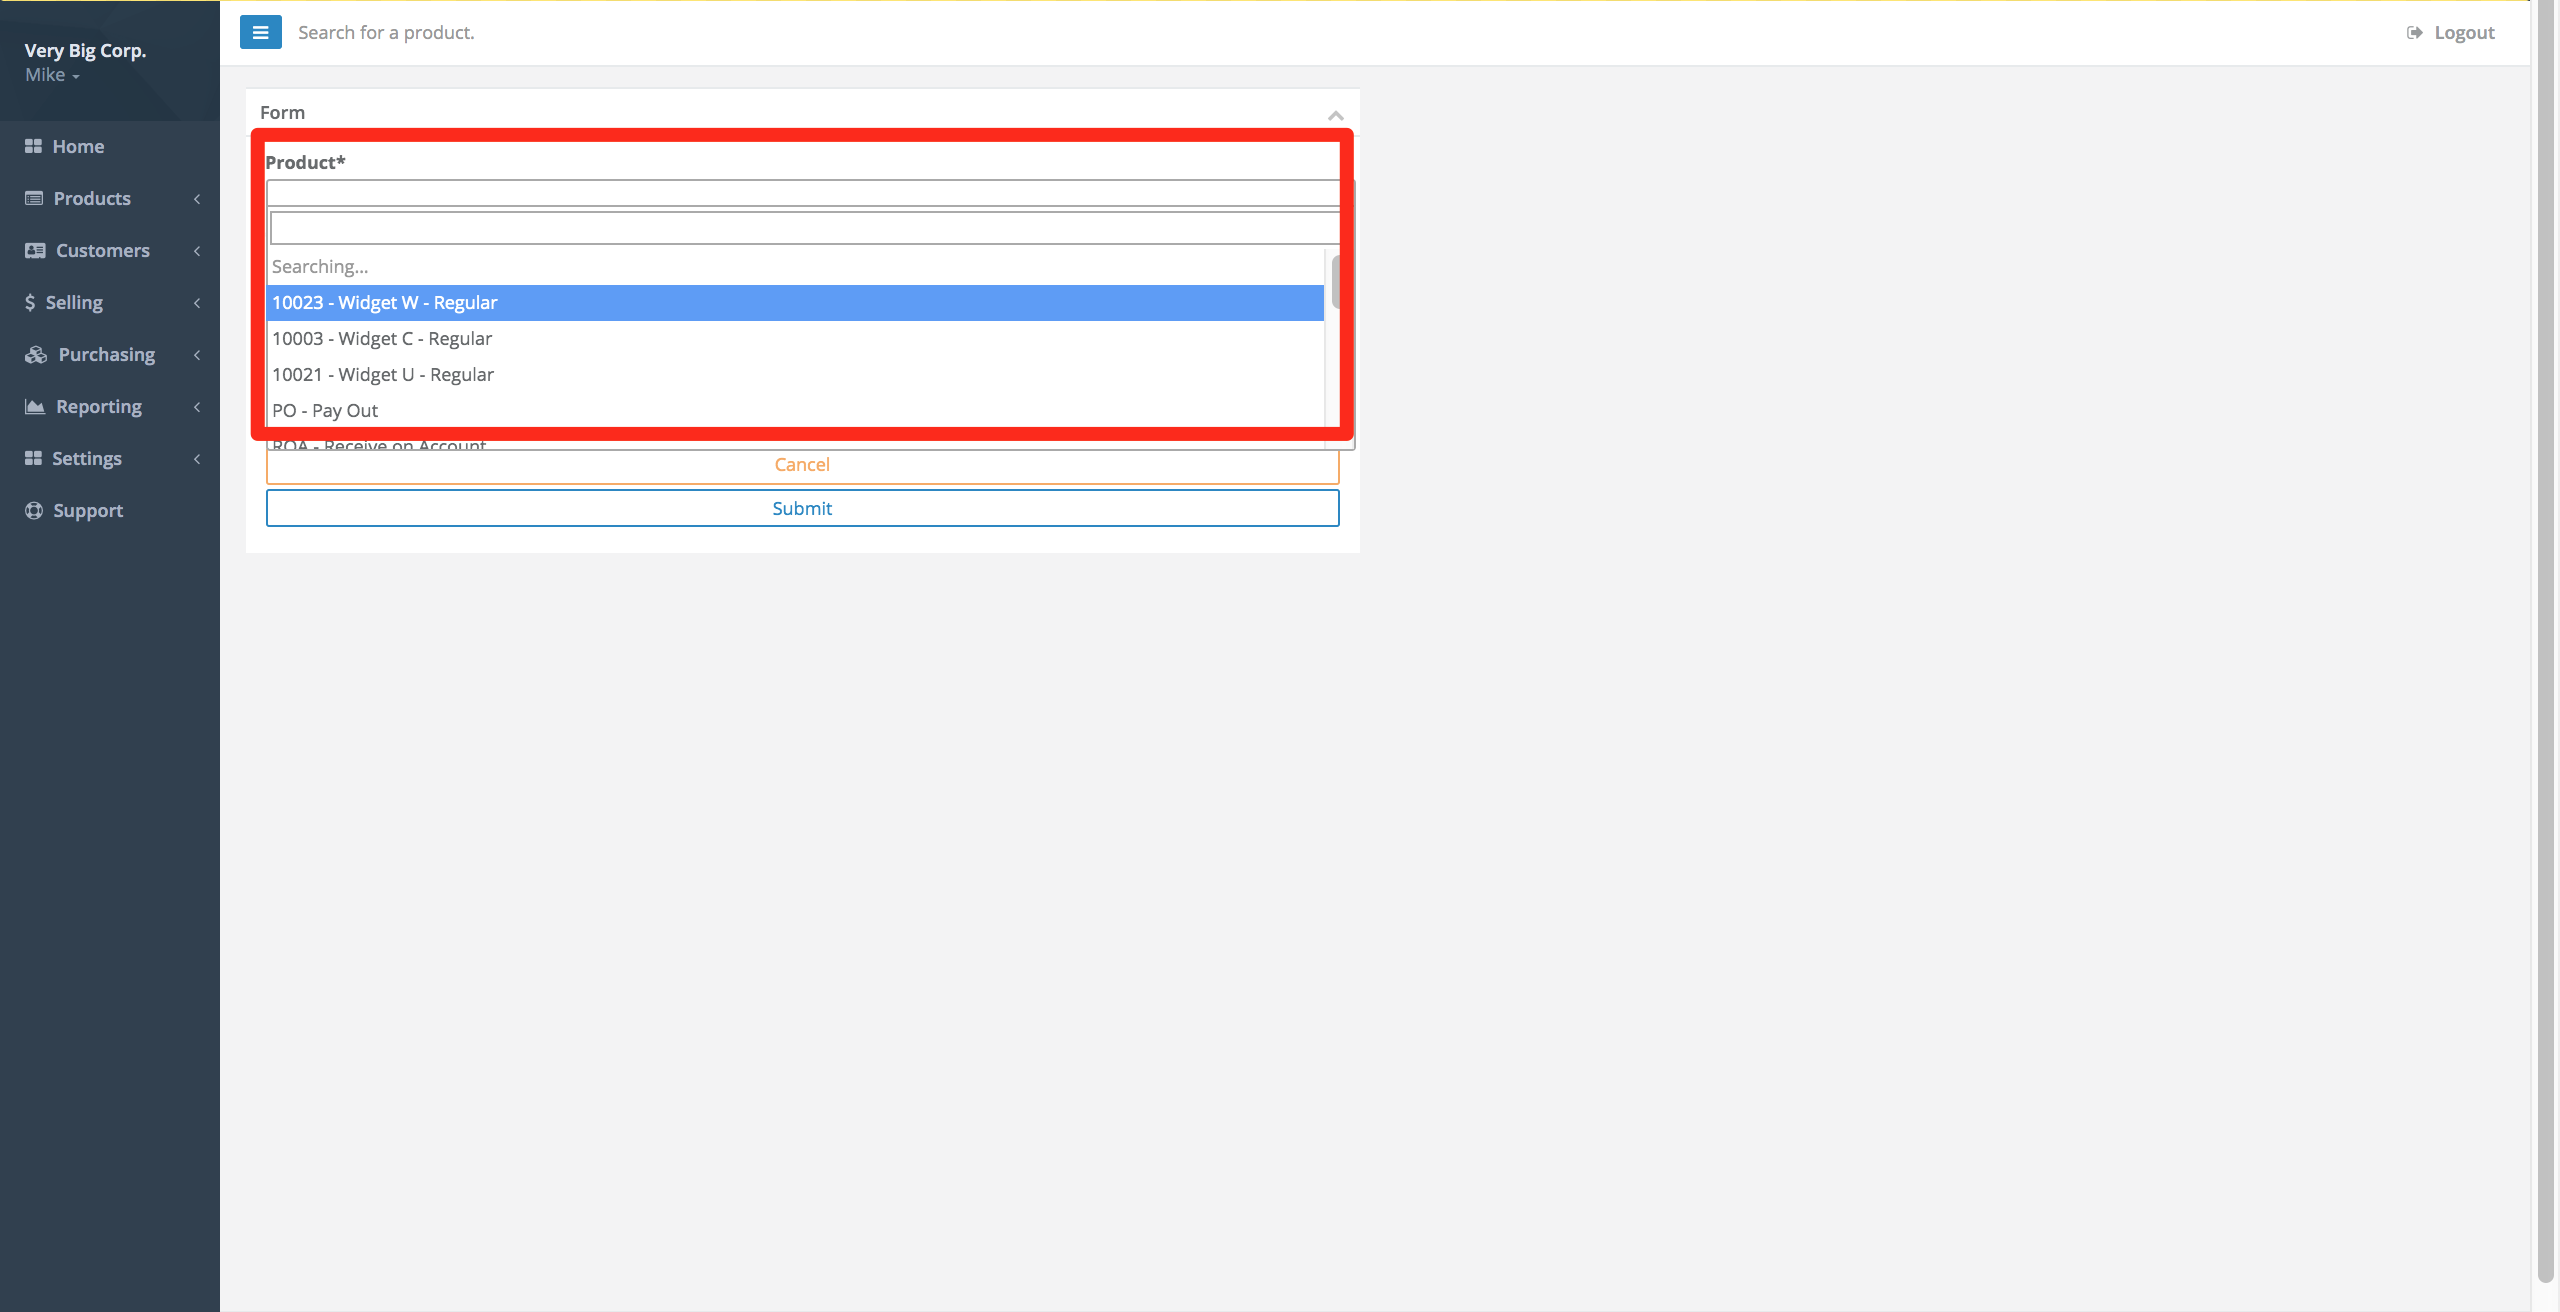
- Select Actions > New Button. This will create the button at the POS.
- Choose the Product from the drop-down menu.
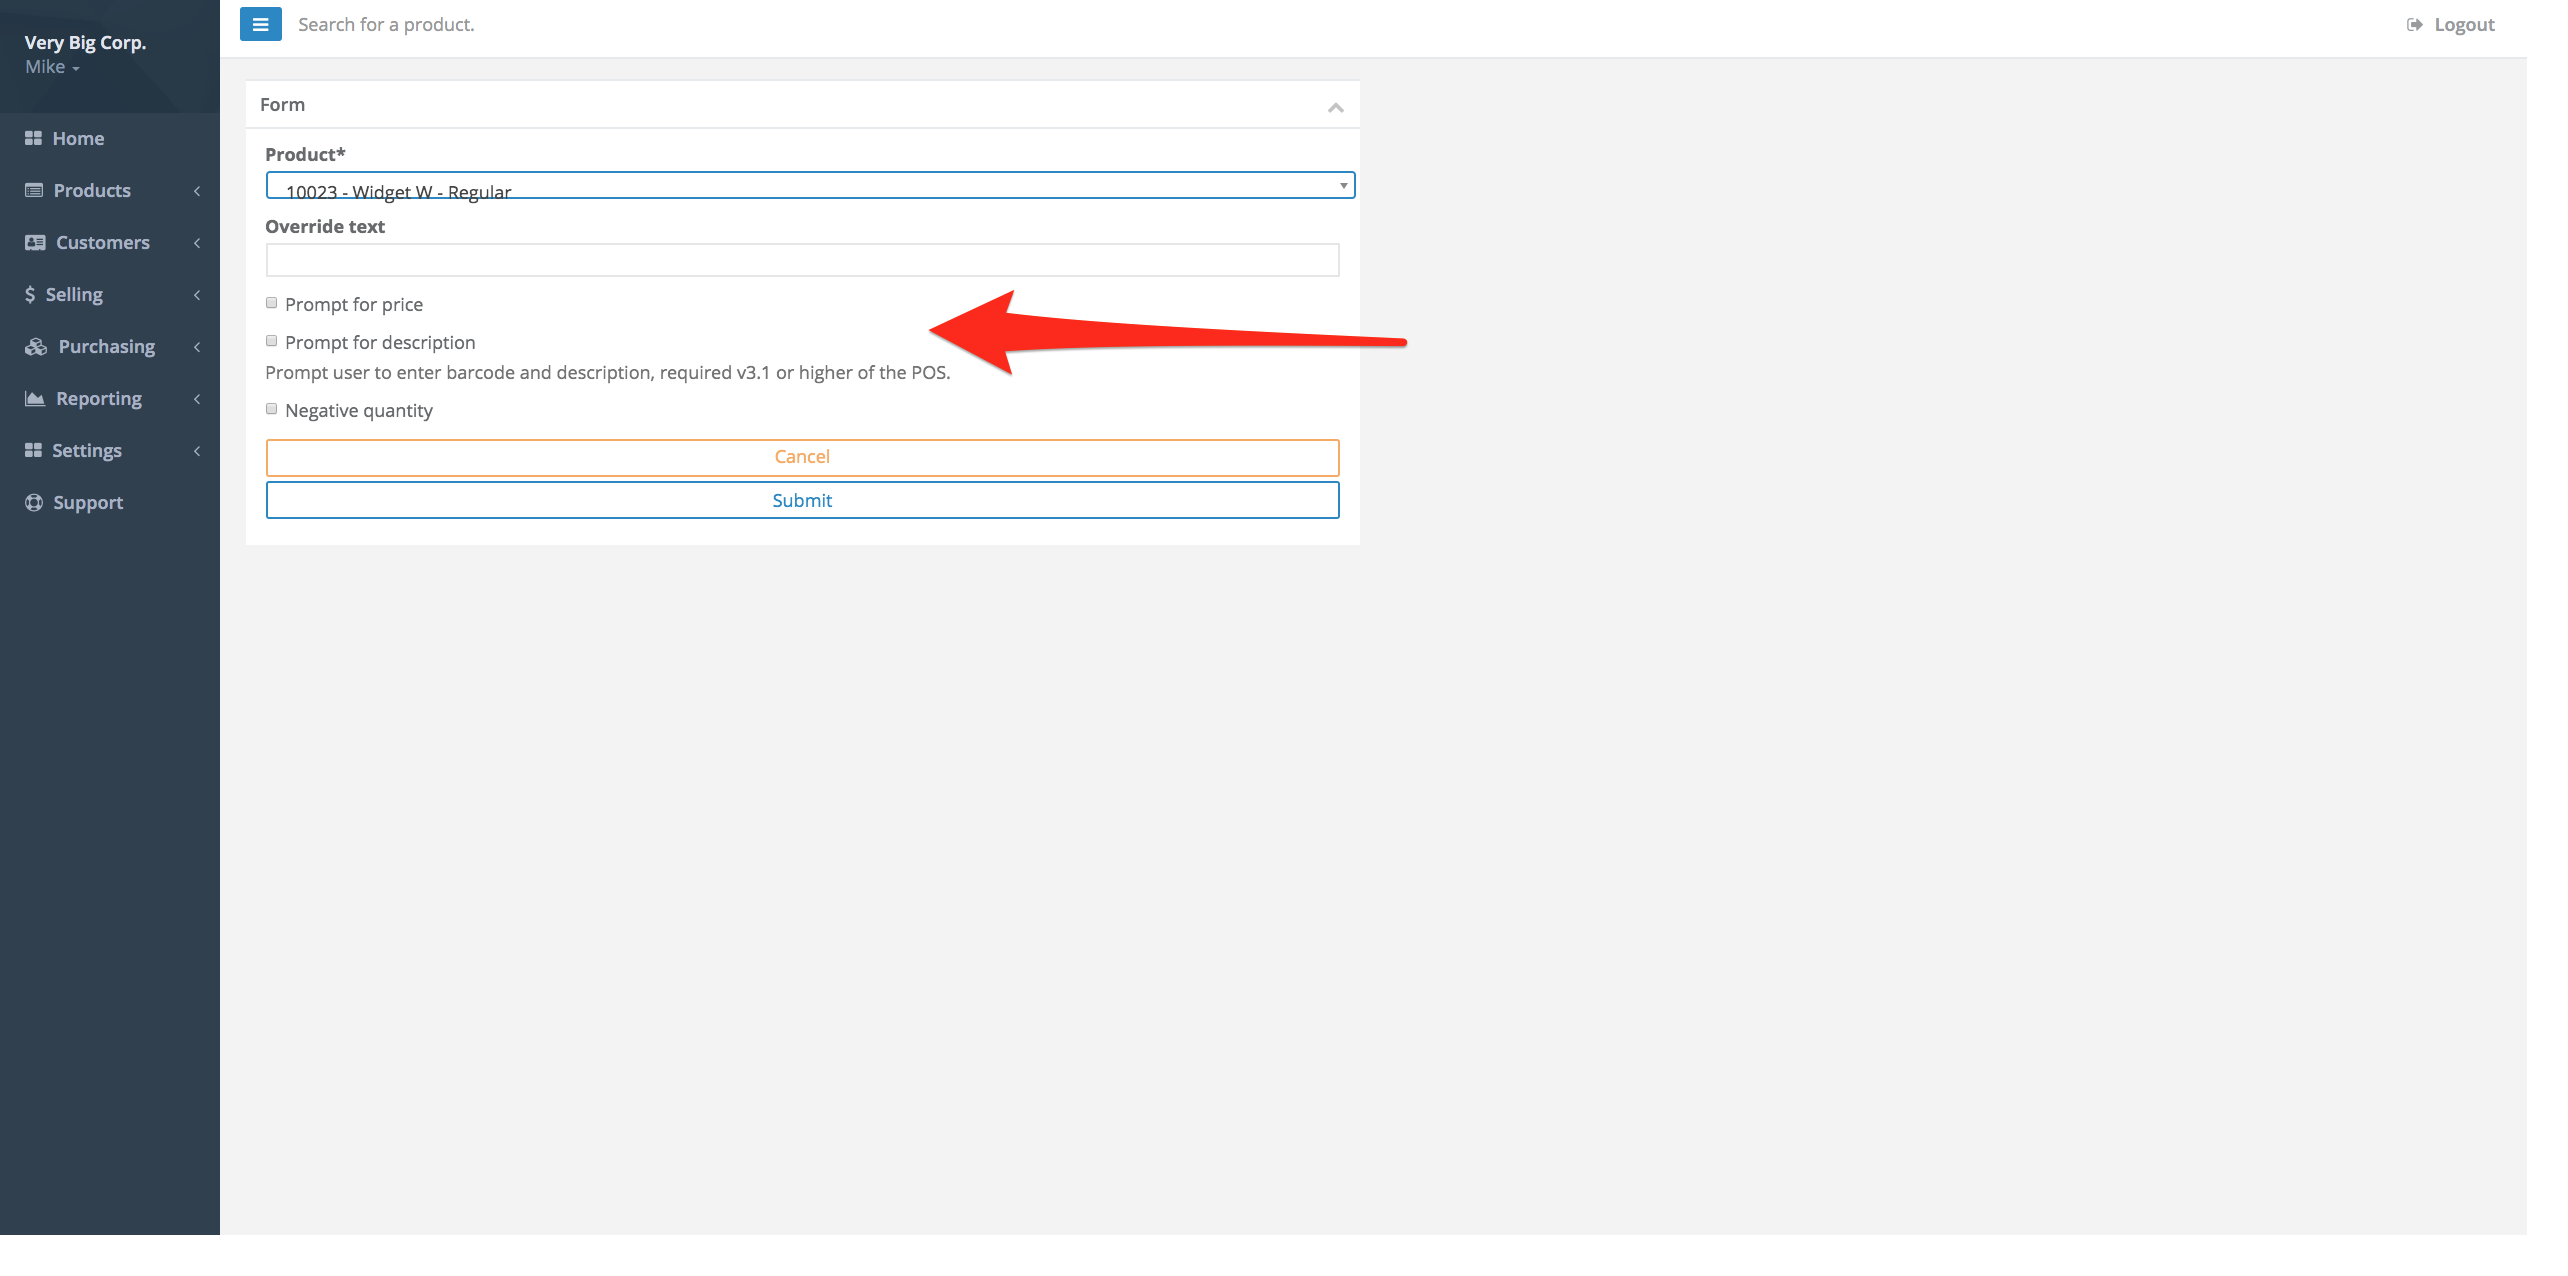
- Enter any Override Text. This will override the product description of the item at the POS. If you have a product called "Plastic Bags" for example, you might want to use the Override Text to call this item "bag".

- Decide whether you want to:
- Prompt for Price - This will prompt the cashier to enter a price.
- Prompt for Description - This will prompt the cashier to enter a barcode and description (compatible with POS v3.1 and higher).
- Negative Quantity - This option will add a negative price and quantity at the POS, this is typically used for items such as lottery redemption.
More Information
To enable Quick Add Keep Open, so that the Quick Add Menu remains open on the POS until manually closed, see the article How to enable quick add keep open.
Comments
Please sign in to leave a comment.