

How To
How do I manage shift sessions?
Follow these steps
A shift begins when a salesperson cashes into the POS, and ends when they cash out. Follow these steps for tips on navigating the Shift Sessions area in the GT Backend.
- Select Selling > Shift Sessions. Or, Cash Management > Shift Sessions if you have cash management enabled.
- Sort the ID column by selecting the down and up Arrows.
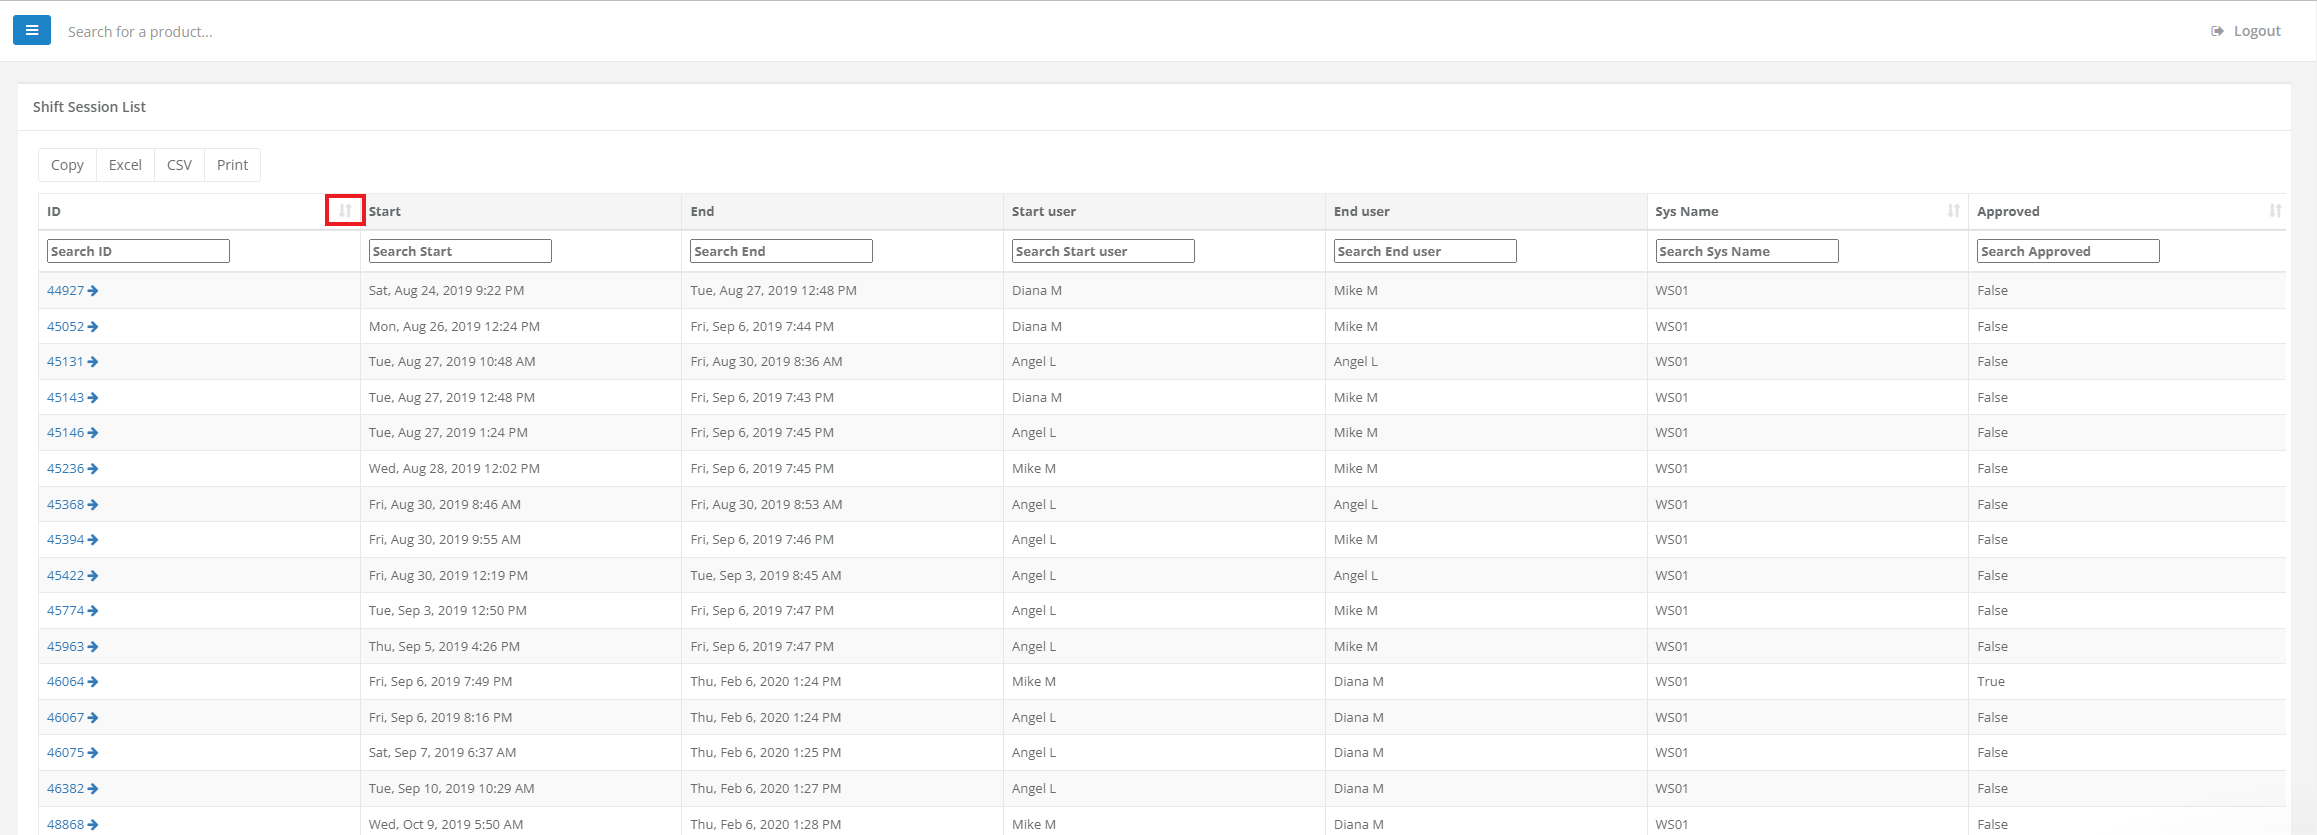
- Select the Shift ID to open a shift to view more details.

- Each shift includes:
- The system ID or the POS the shift occurred on
- The start time and end time of the shift
- The starting user and ending user
- Safe drops
- A breakdown of payments
- Any relevant notes
- The Finalize Shift button

- To record a safe drop, select Add Safe Drop.
- Each Payment Method displays the Start, Expected, End, and Variance amounts. As you process sales at the POS, the amounts update in the shift session until the shift is ended. Use the Edit button to update an ending amount.

- To add additional notes or information to the shift, select Add Notes.

- Select Finalize Session in the top right corner to mark verification of the end of a shift. This optional step is used as a signal that a shift has been validated and can be exported to an accounting package.
Frequently asked questions
- Why are my end of day cash balances recorded in my store's safe balance?
This occurs when a default safe is assigned in your store settings. This default designation automatically routes the funds to the default safe. - How can I fix this issue?
Remove the default safe from your settings. Go to Settings > Store Settings, and select Edit Store. Go to the Advanced settings tab and remove the safe from the "Default Safe" field. To ensure that the changes take effect, remember to refresh your POS after completing the changes in the GT Backend.
Comments
Please sign in to leave a comment.