

Heads up
These instructions apply to GlobalTill's legacy Microsoft Word templates. For information about creating a label using the new drag and drop editor, see the article How to create a label in visual template editor.
Microsoft Word templates are flagged with the MS Word icon next to the template.
How To
How do I create shelf labels using GlobalTill's legacy Microsoft Word templates?
Follow these steps
This video demonstrates how to create a custom label in the GT Backend using Microsoft Word. These steps may vary depending on the version of Word you are using.
To create a shelf label using Microsoft Word, follow these steps.
- Open Microsoft Word and select Mailings.

- Select Labels.

- Select Options.

- Choose Label Product or the brand of the label paper you are using. For example, Avery.

- Search for the Product Number, the specific label. For example, 5160.
- Select Full Page of Labels. Select OK. You'll see the label format for your selected label paper.
- Select Layout.
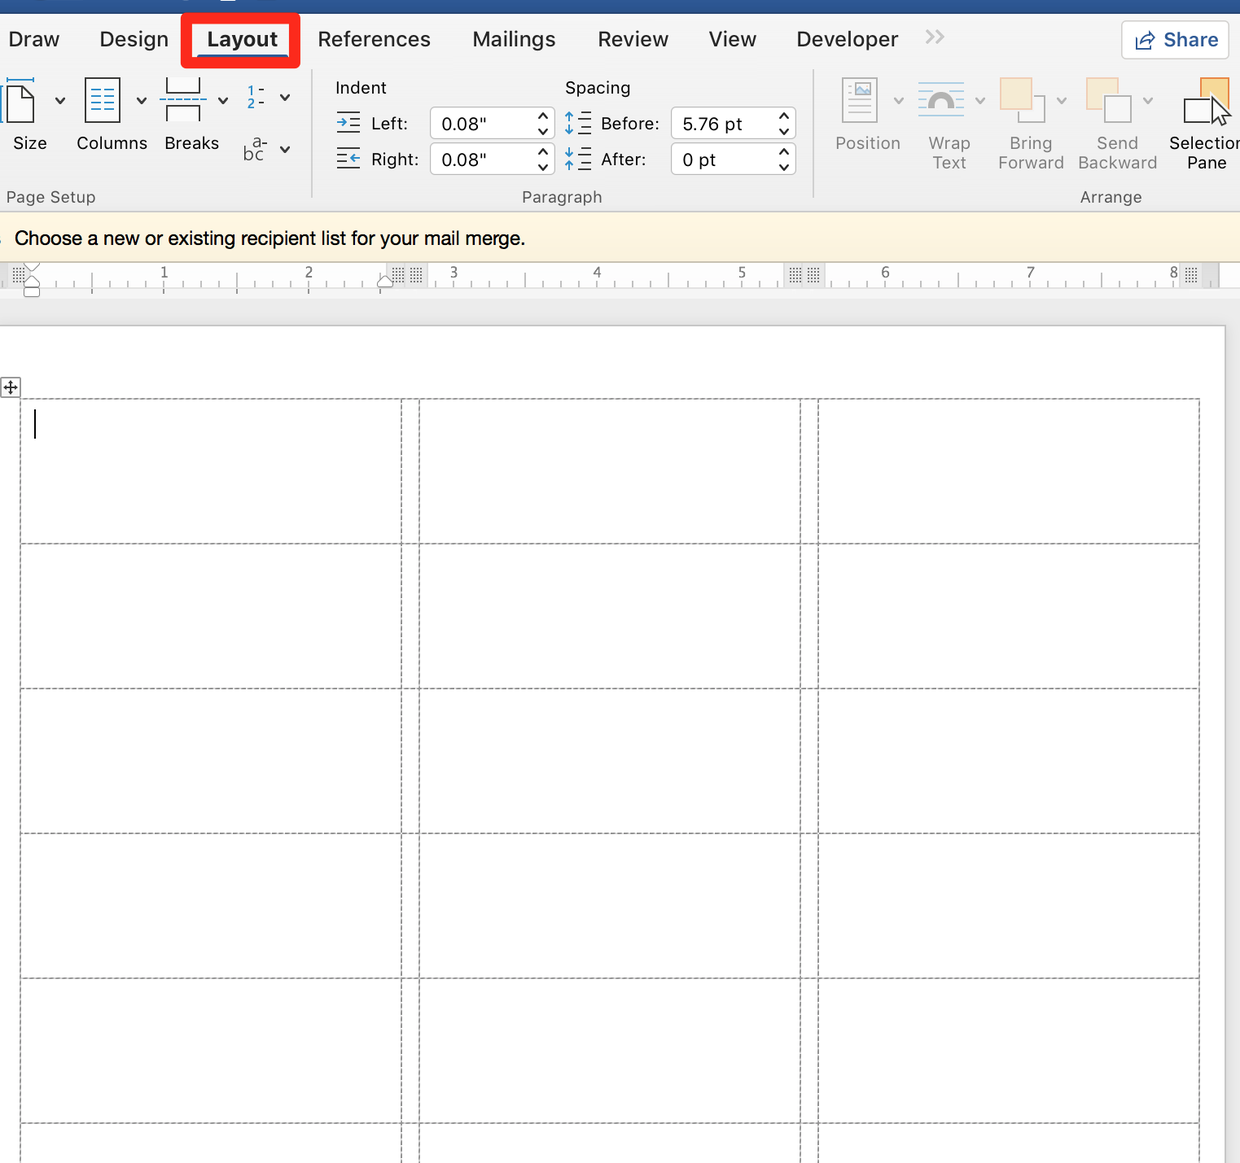
- Select Columns.

- Select More Columns.

- Choose the Number of Columns. For example, if your labels print in three columns, choose three columns.

- Ensure Equal Column Width is checked, under Apply to select Whole document. Select OK. You'll see one column similar to the image below.
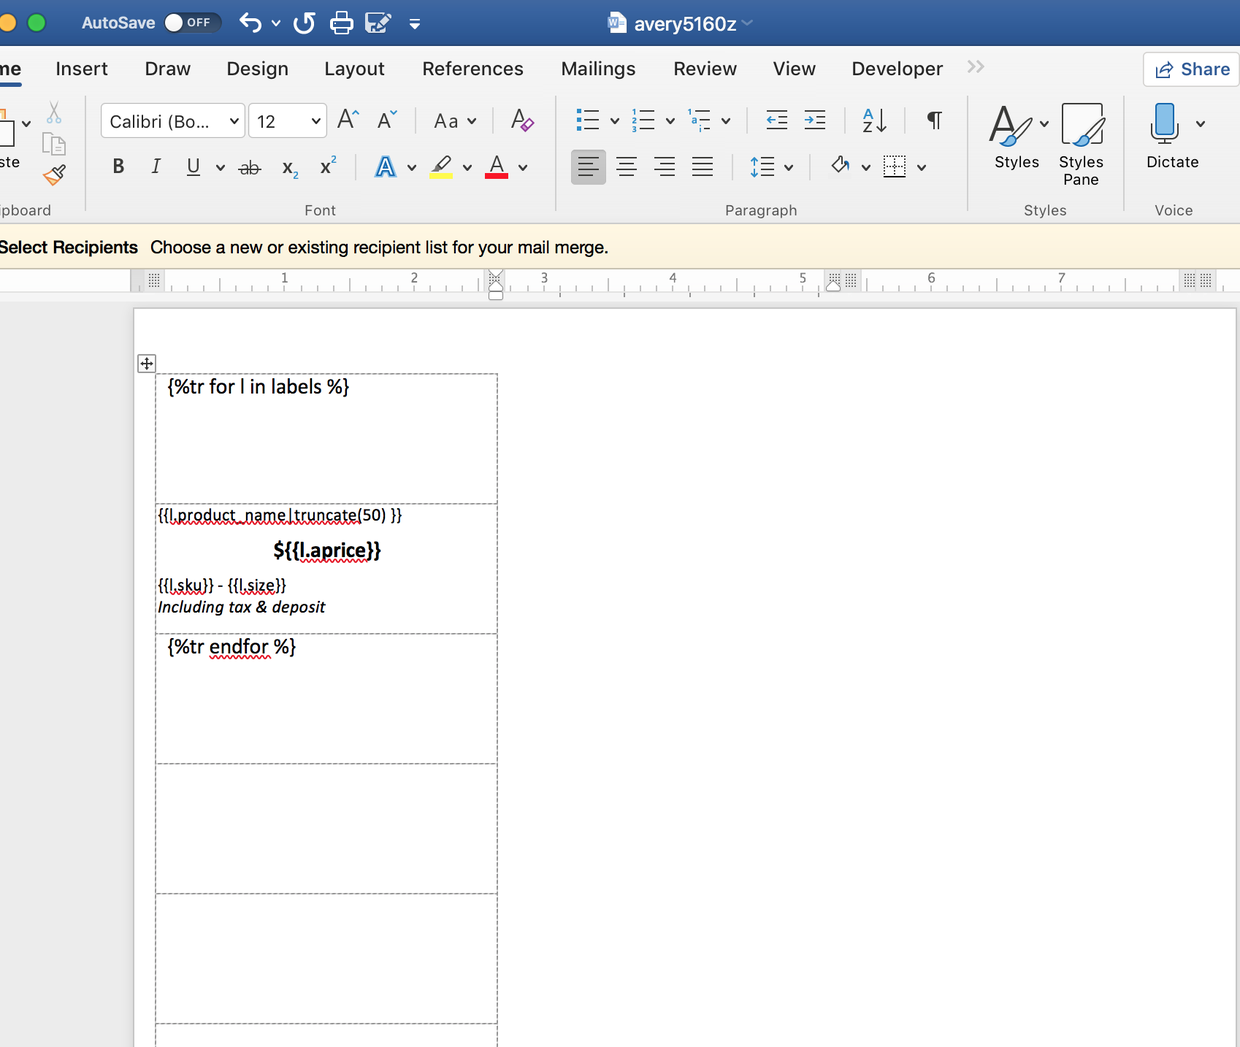
- In the first row, add the code: {%tr for l in labels %}. In the third row, add the code {%tr endfor %}. Tr defines a row of cells in a table, you'll need this for your labels to print in the correct format. Don't worry, the tr code won't show up on your printed label.
- Format the second row as the label, using the predefined variables. For a full list of variables, see the article What are the label variables.
- When you're finished, your label will resemble the image below. Select the additional trailing rows that don't contain information and delete them by selecting Right Click > Delete.

- You'll have a label template that looks something like the image below. Save it and upload it to your template manager. For more information, see the article How to upload a template.

Comments
Please sign in to leave a comment.