

Heads up
Bulk data uploads to your database should be managed by support professionals or advanced end users.
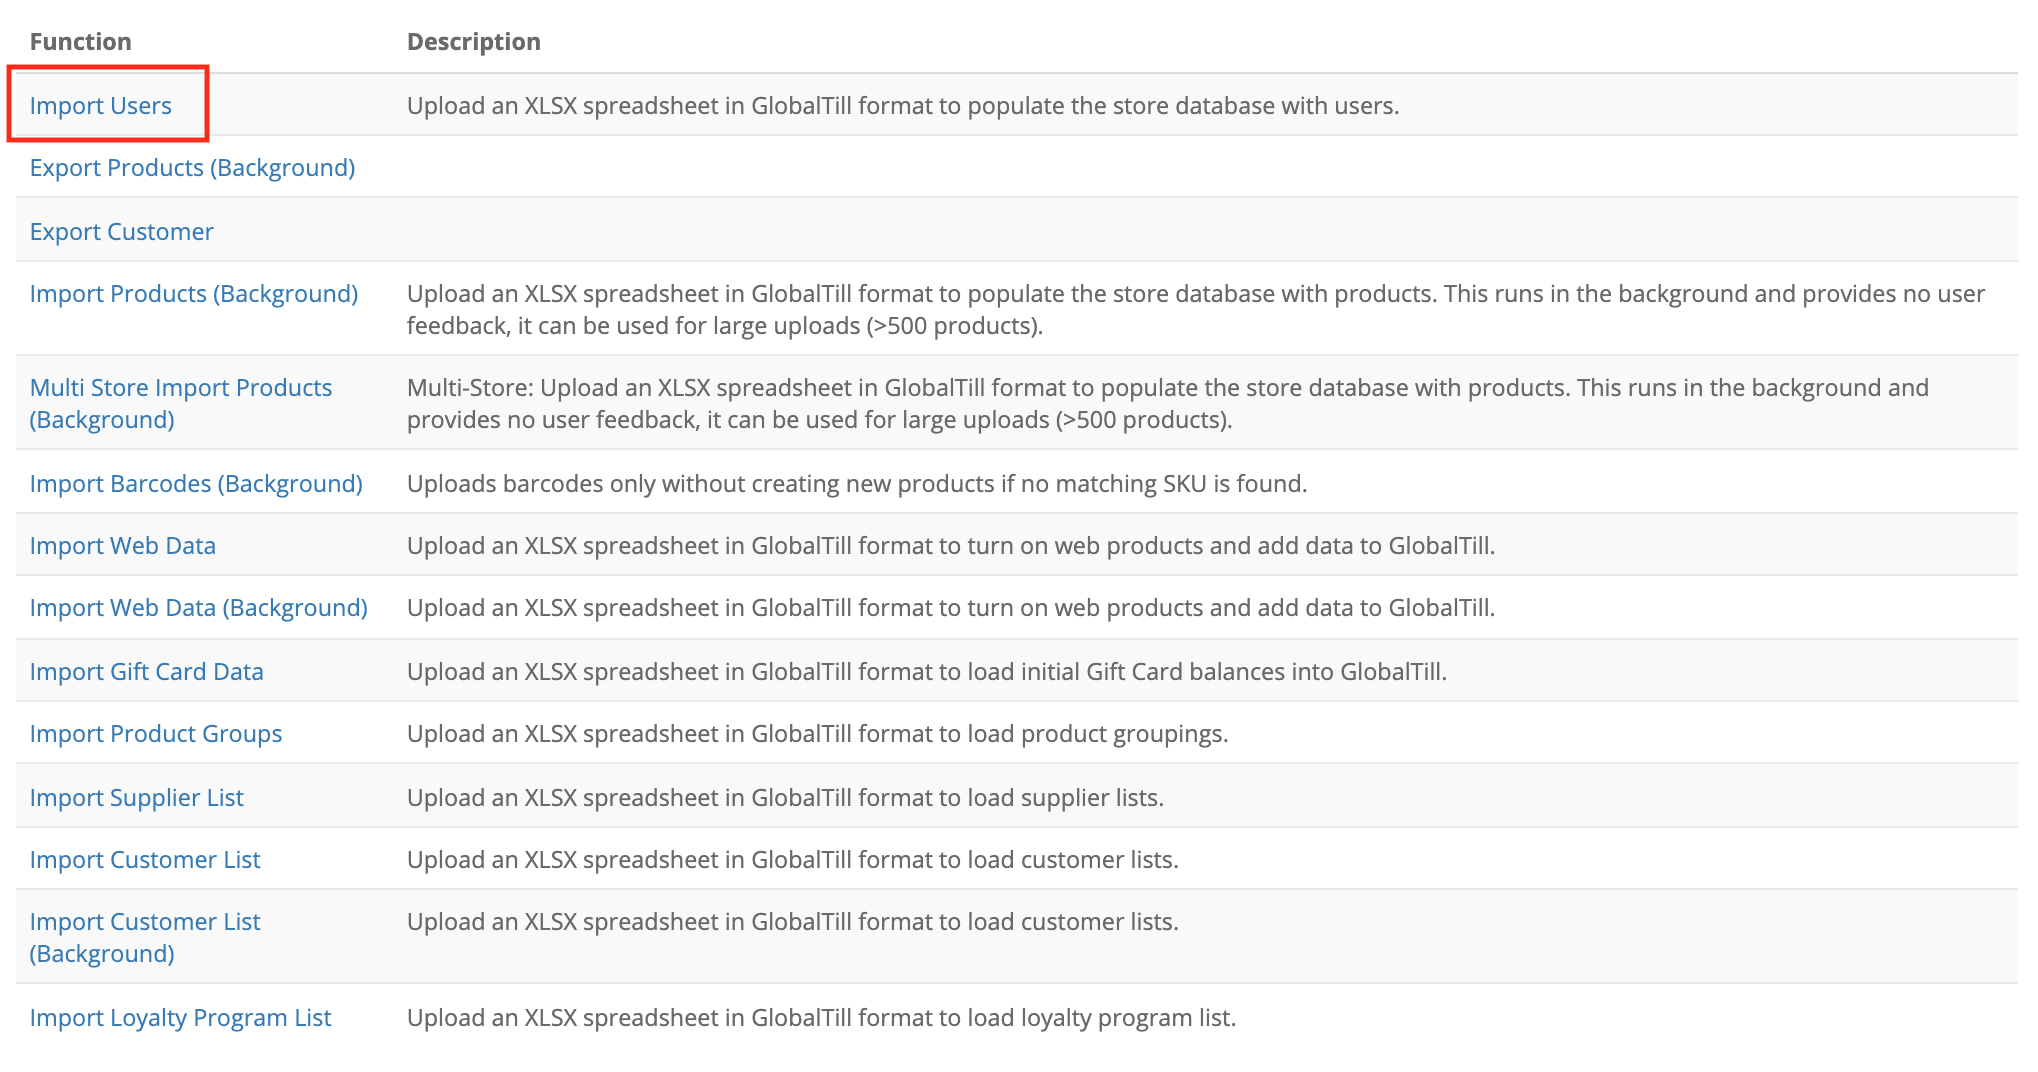
How To
How do I import a user list or create multiple GlobalTill user accounts at once using admin operations?
Follow these steps
You can enter user data into an Excel spreadsheet and import it into GT to create or edit users in bulk.
To bulk import a user list using admin operations, follow these steps.
Step 1: Prepare the import users upload file
Use the following information as a guideline to properly formatting your upload file.
- Use an Excel spreadsheet, only .xlsx format is accepted.
- Headers must be an exact match, and are case sensitive.
- Some formatting, like hidden rows, merged cells, and data tables, may cause the import to fail. For more information see the article How to troubleshoot or fix load files.
Example of an import user upload file

*This image is for visualization purposes. Refer to the accepted header list for all accepted header names.
Here are the accepted headers that can be used to create your import user upload file
Remember, these are case sensitive and must be an exact match.
- username — The username, used to log in.
- password — The password, used to log in.
- first_name — First name.
- last_name — Second name.
- email — The email address linked to the user account.
- display_name — The name displayed at the POS, on receipts and on select invoicing.
- role — The role of the user account, used to determine access and permissions. Accepted values are A, M, or S, for Admin, Manager or Salesperson, respectively.
- pos_pin_number — The numeric code used to login to the POS with.
- show_at_pos — TRUE if the user is shown at the POS, FALSE otherwise.
- can_login_backoffice — TRUE if the user has back office access, FALSE otherwise.
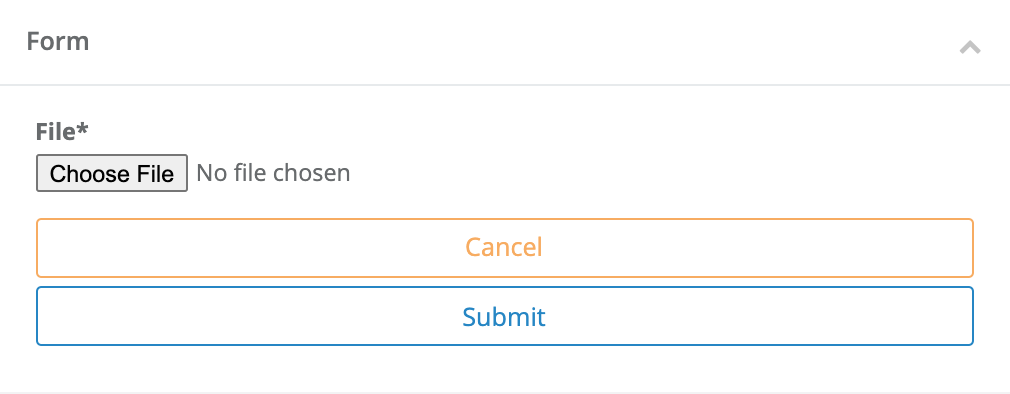
Step 2: Upload the import users upload file
- Go to admin operations at the URL we've provided you with and select Import Users.
- Select Choose File, and select your user import users upload file, then select Submit.
Comments
Please sign in to leave a comment.